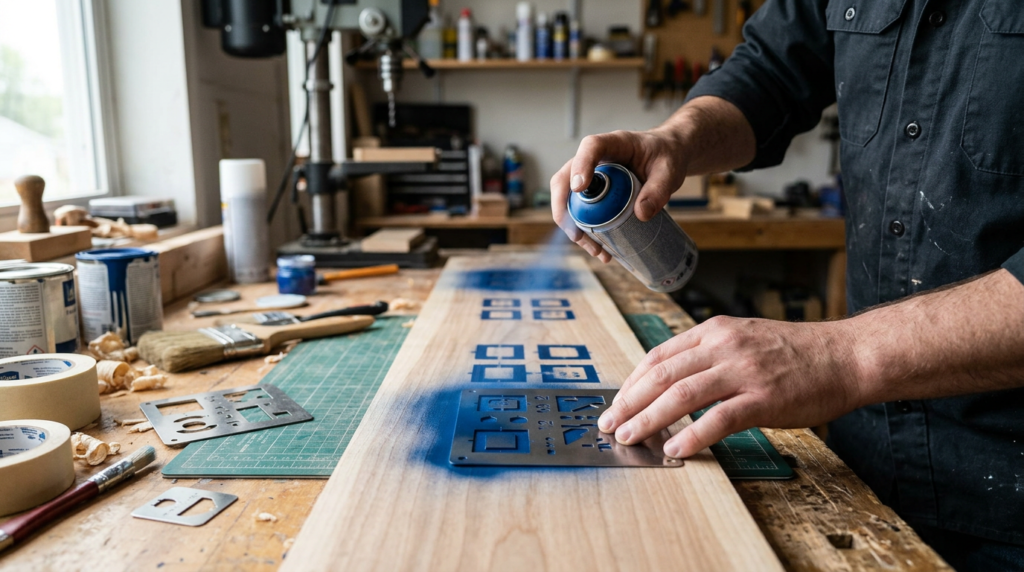
Quick answer: A 2 inch square stencil helps you draw a consistent, repeatable square on fabric or paper so you can plan motifs, check scale, and keep borders aligned. You place the stencil where you want the square, lightly trace with a fabric-safe pencil or fine marker, then use the outline to count holes/threads, center a design, or build a grid. Test markings on a scrap first.
What a 2 Inch Square Stencil Is Actually Good For
A 2 inch square is a handy “unit” size for planning needlepoint and cross-stitch because it’s big enough to see clearly and small enough to repeat. A stencil gives you a clean, consistent outline so your blocks match from one corner of the canvas to the other.
You can use a 2 inch square stencil to sketch a centered motif, map out a border, or divide a larger area into repeatable chunks before you ever thread a needle. It’s also useful for auditioning finishing ideas—like where a monogram or small medallion will sit—without committing to permanent marks.
Many stitchers also use a square stencil on paper to rough out a design, then translate that plan to canvas by counting holes/squares (needlepoint) or fabric threads (evenweave/linen). The goal is less “perfect drafting” and more “repeatable reference points” that keep your stitching calm and consistent.
Step-by-Step: Marking Canvas Without Making a Mess
Start by deciding what you’re marking: a single placement square, a grid, or a border guide. If you’re working on needlepoint canvas, find the true center first by folding lightly (no hard creases) or by counting holes in from the edges. Place the stencil at your chosen spot and hold it firmly so it doesn’t shift.
Align the stencil to the canvas grid itself, not to the outer cut edge. On mono canvas, that means lining the stencil edges parallel to the rows of holes; on interlock, double-check that the “square” you traced still reads square against the holes. Trace with a light touch, lift straight up, and confirm the corners look crisp and the sides track cleanly along the hole rows.
If you’re building a repeating pattern, re-check alignment every few squares rather than trusting the first one forever. Small rotation errors compound and show up as borders that “walk” or corners that won’t meet cleanly.
Choosing a Marking Tool: Quick Decision Table
Pick a marking tool based on whether any lines might remain visible, how long the project will sit, and what conditions (heat, moisture) it may face.
Graphite pencil: Use for dark threads or areas guaranteed to be fully stitched. Avoid on light fabrics/canvases where gray can show through light stitches, and avoid heavy pressure that can leave a groove.
Water-erasable pen: Use for short-to-medium projects where you can rinse or dab out marks soon after stitching. Avoid if the piece can’t be washed (some finishes, some canvases) or if you can’t fully remove water later; test first because some inks can leave a faint shadow.
Air-erasable pen: Use for quick placement marks you’ll cover promptly. Avoid for long-term projects because marks can vanish before you’re done; also avoid heat exposure (ironing/finishing heat) that can set or shift some inks—always test on a scrap.
Fine permanent pen: Use only where every line will be completely covered by stitches and you’re confident the layout won’t change. Avoid on any unstitched background, open stitches, light-colored threads, or anywhere bleeding could show; a very thin line is safer than a thick one.
Cross-Stitch Placement on Aida and Evenweave
For cross-stitch, the stencil is most helpful as a placement guide rather than a “stitch count” tool. On Aida, the fabric count (14, 16, 18, etc.) means stitches per inch, so a 2 inch square spans about 2 × count stitches (for example, about 28 stitches on 14-count Aida, about 32 on 16-count, about 36 on 18-count). Align the stencil edges with the straight fabric grain so the square isn’t tilted relative to the weave.
On evenweave/linen, you also need to know whether you’re stitching over-2 (one cross-stitch over two fabric threads, common) or over-1 (smaller, more detailed). The effective stitch count per inch is the fabric thread count divided by 2 when stitching over-2. Example: 28-count linen over-2 behaves like 14-count Aida (about 28 stitches across 2 inches), while 28-count over-1 behaves like 28-count (about 56 stitches across 2 inches). Count threads in both directions if the fabric isn’t perfectly even.
If you’re placing a motif, find the center of the design in stitches and match it to the fabric center (fold lightly or count). A stencil helps you visualize the footprint, but for larger pieces or full coverage, gridding with a washable pen (commonly 10×10 stitch boxes) is often more reliable than repeatedly tracing squares—especially if you need many reference points across the whole fabric.
Getting the Right Size and Fit for Your Project
A “2 inch” square is a physical measurement, but what it represents in stitches depends on your fabric. On needlepoint canvas, the count (13, 18, etc.) is holes/squares per inch, so 2 inches spans about 2 × count holes (about 26 holes on 13-count, about 36 on 18-count). Treat those as planning estimates and confirm by counting the actual holes on your specific canvas, since edge treatment and stretching can change what you measure.
If your goal is finishing (like centering a name, medallion, or border), use the stencil to check placement, then verify the design size in stitches against your fabric count so the finished size lands where you want. Borders look best when the repeat divides evenly into the available stitch area; a quick recount before you start can save a lot of frogging.
Bring your fabric/canvas count, the design size in stitches (width and height), and your finished-size goal (for example, “I want this to finish about 8 inches wide” or “I need a 1-inch margin for finishing”). You can ask for a quick layout check, help translating inches to stitches for your specific fabric, and a recommendation on which marking tool is least likely to haunt you later at Blue Willow Needlepoint.